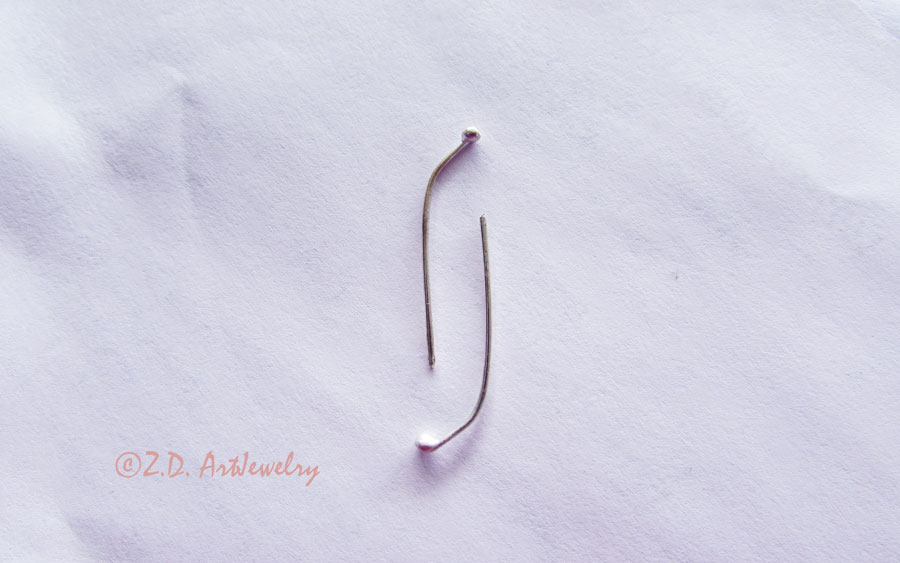
In this post, I want to explain how I am making no-solder earring posts. Soldering earrings posts is the usual way to make studs. However, I think there are designs that we can use no-solder posts. In this method, I ball up the end of two pieces of wires to make the posts (explained in this post). I use this type of earring post for small studs and specific designs such as flowers.
How do I make these wires or no-solder posts?
- I use longer length of wire for these posts than the regular posts that I solder. I usually use 0.8 mm sterling /argentium silver wire for every type of ear wire or post. First, I ball up the wires. After balling up, the final length of wires would be 2.5-3 cm . You can make them longer or shorter. Howevere, longer versions make pushing the earring back onto the post difficult.

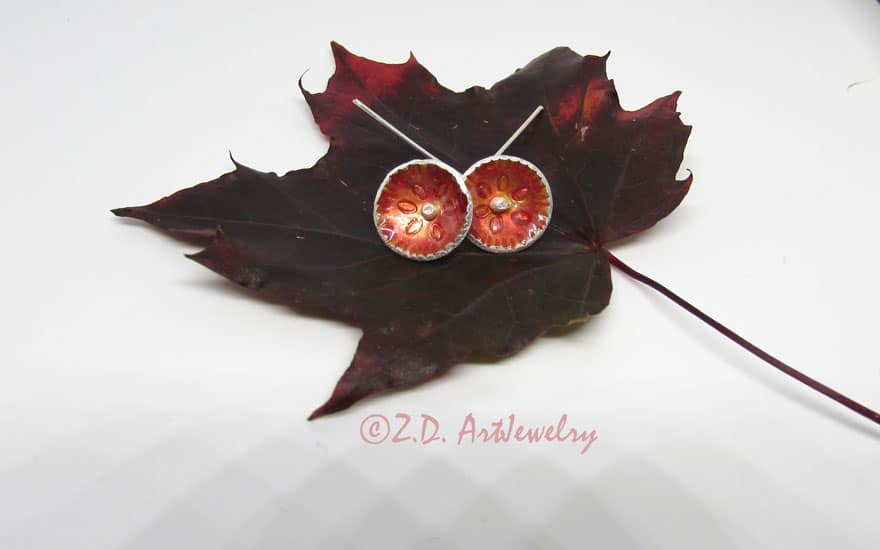
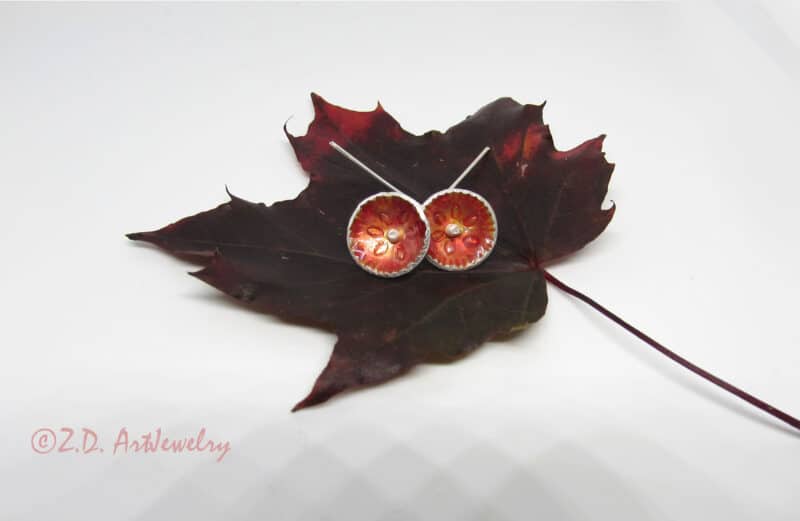
- Then I create a hole on each earring. A 0.8-0.9 mm hole is suitable for 0.8 mm wires. I have made small concave flower earrings. I drilled a hole in the middle of each earring and then, I have also enamelled them.

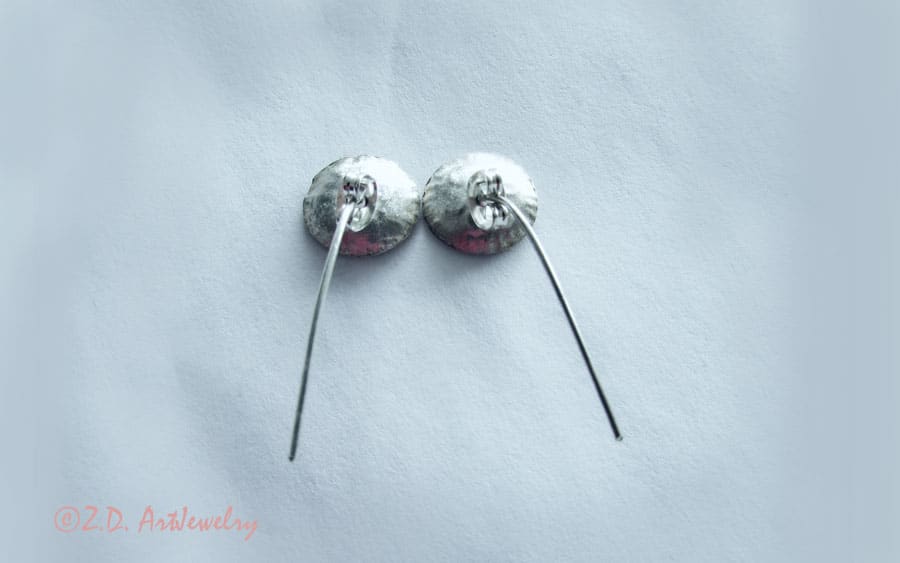
- Bend the wires. So, unlike the regular posts, they will show below the ear lobe. This is aesthetically great for these flower earrings as they are like the stem for flowers. However, you can make them shorter based on your design. I even made longer posts for the copper stud that you see the picture below. The contrast between copper studs and silver posts can be nice.

- Hang the wires and secure them using earring back and here are your no-solder earring posts! I have tried no-solder post studs before and they are comfortable as long as you use them for small earrings

